Let me start first by making a disclaimer – I am not a professional photographer and still have a lot to learn on photography. I mostly shoot using the auto mode and usually only make a few adjustments. That said, I did pick up some tips from a few photography talks and from experience. And what I learned is I daresay enough for smartphone travel photography, or for Instagram.
My craft is really writing, but when I started travel blogging, I realized the need to take photos to accompany my words. While my words can give the readers a feel of the experience that photos sometimes can’t give, with a single glance, photos can show what a place looks like. Photos are especially important when I write travel guides. That way, readers will be able to have a more objective perspective of the place.
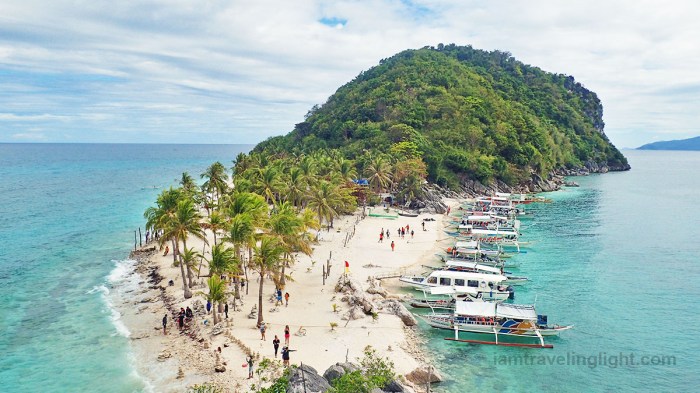
For my travel blog, I need to take photos especially for travel guides. This photo was included in my guide to Gigantes Islands
In personal essays or travel narratives like this on my seven-week solo backpacking trip, I used fewer travel photos and focused more on making the readers feel the experience through my words.
I included this photo for my travel narrative on my solo backpacking trip as this was one of the highlights of my trip, and where I had a realization
As a travel blogger, photos to me are a companion to my storytelling through writing. I try to make them work together.
Here are some travel photography tips I have picked up and have been applying over the years:
Take photos that give a sense of the place
I won’t forget what a professional photographer who is also a travel blogger said in a talk even before I considered starting a blog – that travel photographs should give a sense of the place. I believe this is especially important if you only have one travel photo of the place, or if you have an album and need a main or feature photo. Make sure there are elements that are characteristic of that place.
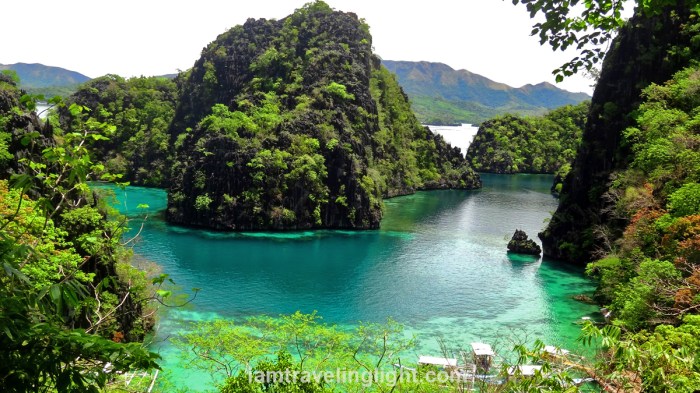
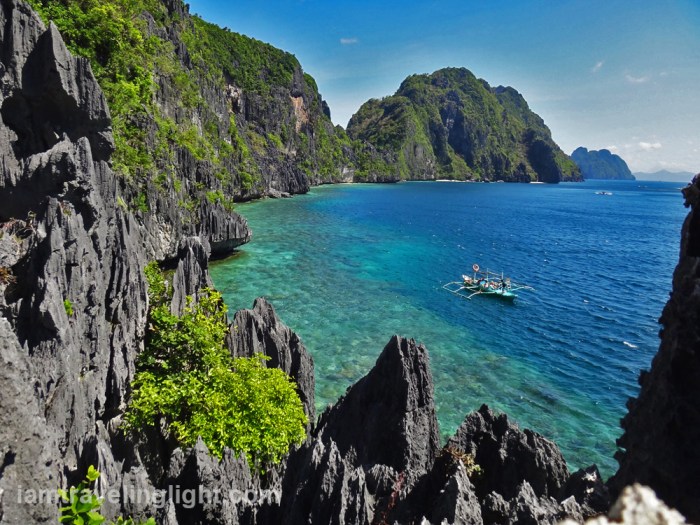
Iconic view of clear waters and karsts in Coron, Palawan. This is among the Philippines’ most beautiful places according to bloggers who visited all 81 provinces. Blog post on that here
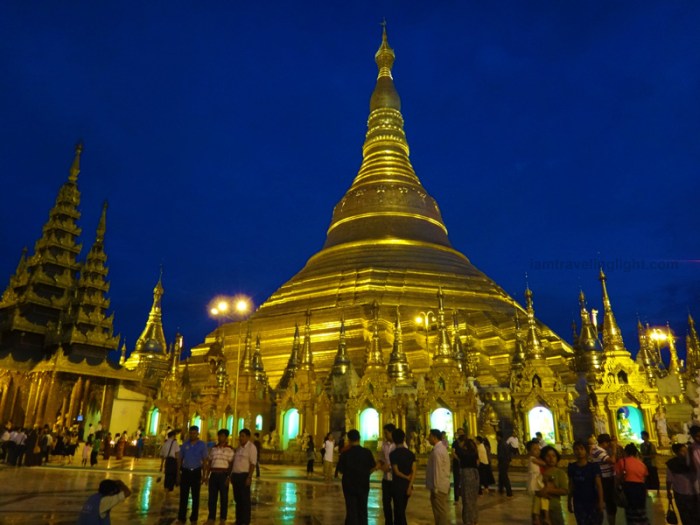
This is Shwedagon Pagoda, a major temple and landmark in Myanmar’s capital Yangon. See my blog post on Myanmar here
For landscapes, use a wider orientation as much as possible
Of course, there are exceptions, but generally, landscapes look more majestic and sweeping when shot at a wide angle or with a wide orientation (usually 16 x 9).
Biri Rock Formations in Northern Samar. This is also part of my blog post on the Philippines’ most beautiful places
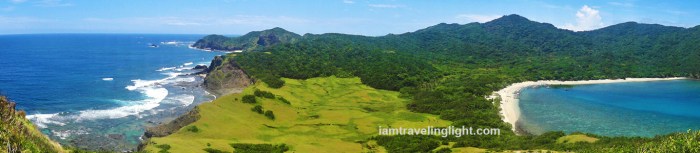
This is wider than the usual 16 x 9 and is rarely used (I used the “Panorama” setting on my camera). This photo, though, gives a sweeping view of Palaui’s two seas that wouldn’t be captured with the usual photo dimensions (See my Palaui travel guide)
Follow the rule of thirds, especially when you have a specific subject
Imagine a photo to be divided into nine squares – the subject should be on the line on the left or the right. To make sure you are following the rule of thirds, activate the grid lines on your camera or smartphone.
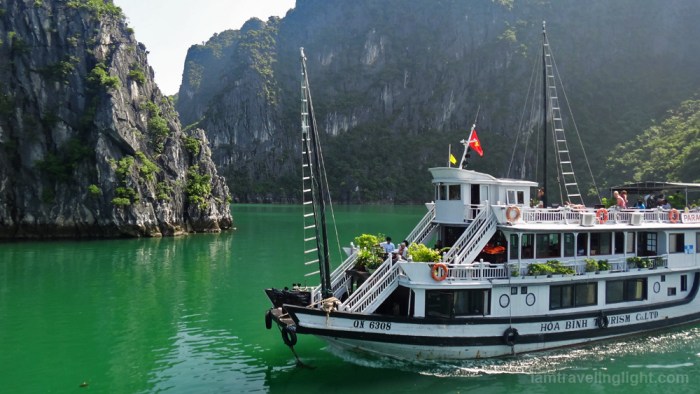
The subject here, the cruise boat, is not in the middle but toward the right. I shot this with the rule of thirds in mind. (See my blog post on the Halong Bay cruise)
Again, there are exceptions to this, but in general, it would be good to follow this rule.
Use leading lines and perspective
As in the photo above, there is a foreground (subject) and a background (the rock formations) that give the photo depth.
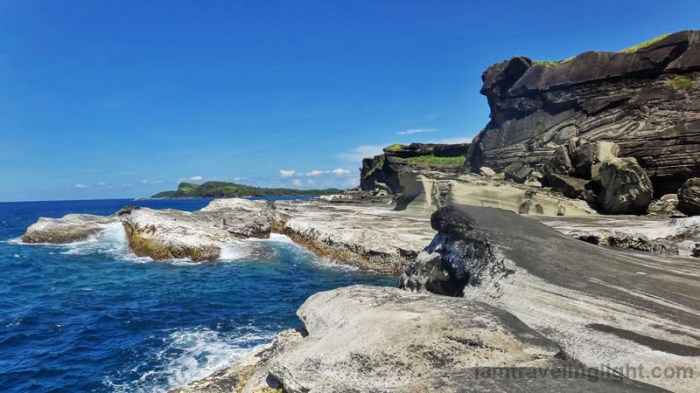
Below, the photo uses lines and curves that lead to the horizon.
The line, or rather, curve of the rocks, lead the viewer’s eye into the horizon, giving the photo depth

The leading lines of the prayer wheels on the left, the pathway, and the fence, all lead to the mountain up ahead. This photo was taken on a monastery in Ladakh, India
Include an element of a different size if you want to show contrast in scale
If you are photographing a vast and majestic landscape or a towering structure, it would be good to include an element of a smaller size, like a person, especially if you want to emphasize the bigger object’s size.

Here, the passenger on the motorbike and the signages show just how huge the rock formations are. This photo is also an exception to the rule of thirds as the rocks frame the road and the motorbike

The car on the right is dwarfed by the majestic snow-cloaked mountains. Photo taken in Ladakh, India. Blog post with guide here
Wait and pay attention to capture the perfect moment
In street photography especially, you need to be attentive to capture the perfect moment. In fast-paced scenes like festivals, you might also need to set your camera in burst mode to get several shots and pick one or more later.

I saw a monk walking around Bagan, and I waited from a distance for him to walk near this temple to discreetly take this shot
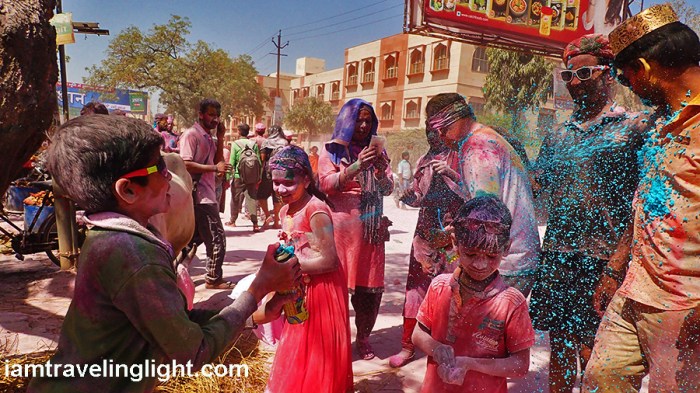
Holi Festival in India is an explosion of colors. Most of the time my travel companion and I had colored powder or liquid on our faces and even our eyes, so I was glad to get this shot during a breather
These are some of the things I learned while taking photos for this blog (If you would like to see more of my photos, do follow me on my Instagram). I am interested to learn more, which is why I am planning to attend this photographers’ conference below. You might want to check this out, too.

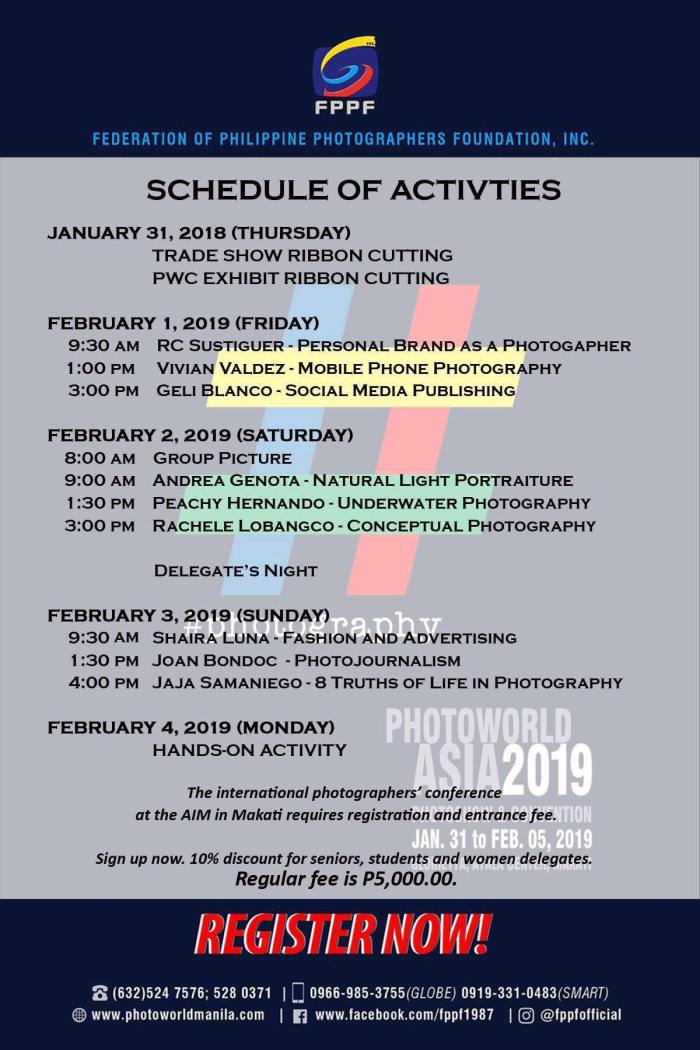
For more details and to register, visit www.photoworldasia.com. You may also call (+632) 524 7576 for registration. See you there if ever!


Pingback: Finding your light, shooting from 12 o’clock, and other photography tips at Photo World Asia 2019 | Traveling Light
Pingback: 6 things I learned from the basic photography workshop by the country’s federation of photographers | Traveling Light
Superb pictures
Thanks!
You are welcome